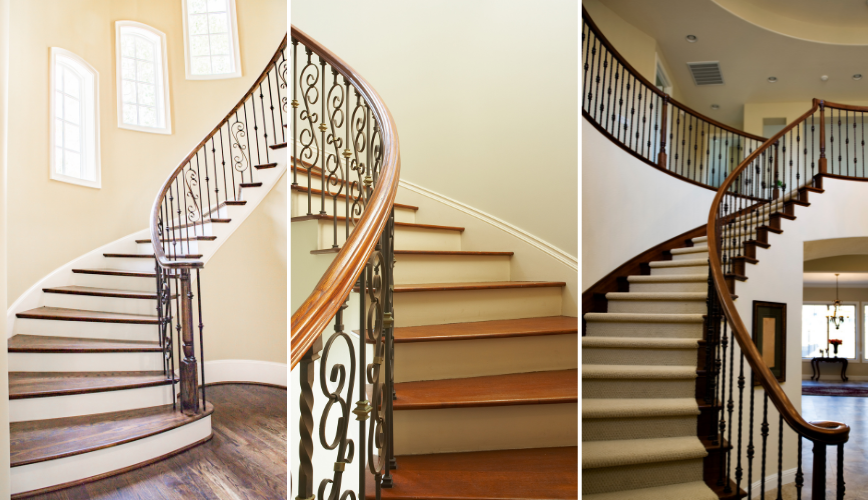
A Step-by-Step Guide to Installing Handrails, Posts, and Metal Balusters
Introduction:
Installing handrails, posts, and metal balusters not only enhances the safety of staircases and balconies but also adds aesthetic appeal to any space. Whether you're renovating or building from scratch, understanding the process can empower you to undertake this project confidently. In this comprehensive guide, we'll walk you through the steps involved in install handrails, posts, and metal balusters.
Step 1: Gather Materials and Tools:
Before you begin, gather all necessary materials and tools. This typically includes handrails, posts, metal balusters, mounting brackets, screws, a drill, a level, a measuring tape, a saw, and safety equipment such as gloves and goggles.
Step 2: Measure and Plan:
Measure the length of the handrail needed for your staircase or balcony. Consider the height and width of the space, as well as any local building codes or regulations regarding handrail height and spacing between balusters. Plan the layout, ensuring proper spacing and alignment.
Step 3: Install Posts:
Determine the placement of the posts along the length of the handrail. Use a level to ensure they are perfectly vertical. Secure the posts to the floor or wall using appropriate mounting brackets and screws. Ensure they are firmly anchored for stability.
Step 4: Cut Handrails to Size:
Using a saw, carefully cut the handrail to the measured length. Be precise to achieve a clean and professional finish. If necessary, sand the cut edges to smooth them out.
Step 5: Attach Handrails to Posts:
Position the handrail onto the installed posts. Use mounting brackets to secure the handrail to the posts, ensuring it is level and securely attached. Double-check the alignment and stability.
Step 6: Install Balusters:
Measure the spacing between the posts to determine the placement of the metal balusters. Typically, balusters are spaced evenly apart, with no gaps larger than local building codes allow. Secure the balusters to the handrail and the bottom rail using screws or brackets.
Step 7: Finishing Touches:
Once all components are installed, inspect the handrail, posts, and balusters for any imperfections or loose fittings. Make any necessary adjustments and tighten screws as needed. Sand any rough edges for a polished look.
Step 8: Paint or Stain (Optional):
If desired, paint or stain the handrail, posts, and balusters to match the décor of your space. Ensure proper ventilation and follow manufacturer's instructions for best results.
Step 9: Final Inspection:
Before declaring the project complete, perform a final inspection to ensure everything is securely installed and meets safety standards. Test the handrail's sturdiness by applying pressure in various directions.
Conclusion:
Installing handrails, posts, and metal balusters is a rewarding DIY project that enhances both safety and aesthetics. By following these step-by-step instructions and paying attention to detail, you can achieve a professional-looking result that adds value and style to your home or commercial space. Remember to prioritize safety throughout the installation process and consult with professionals if you encounter any challenges beyond your expertise. With patience and careful planning, you can successfully complete this project and enjoy the benefits for years to come.

Comments
Post a Comment